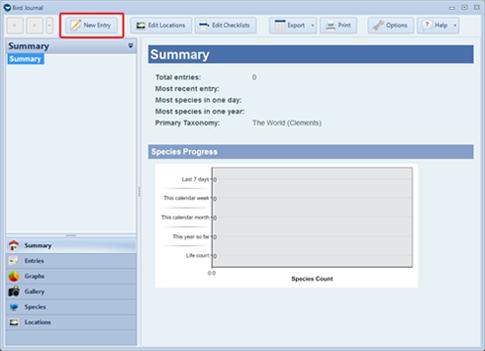
The first time you load Bird Journal you will be presented with a screen like below. To start adding your sightings into Bird Journal click on the New Entry button:
The New Entry screen looks like this:
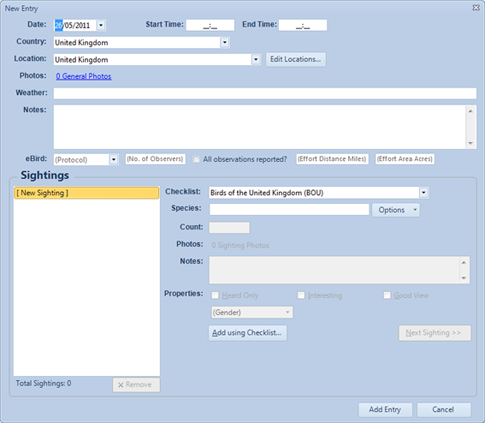
The beauty about the entry system is that you can enter as much or as little data as you like, an entry can be saved to the database with just a single sighting.
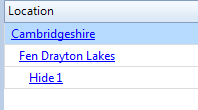
From here you may wish to assign a location to this entry, by default the location is set to a country, in this case United Kingdom. To add new locations click on the Edit Location button. The location feature lets you build locations in a hierarchy structure, which means you can add county names followed by a place, then by hide etc:
Once you have added the locations, the locations are now ready to be used for the entry. When you return back to the entry screen select the location you would like to use:
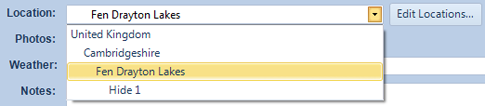
For this example we will select Fen Drayton Lakes, at this point you may add additional notes about your trip like weather or photos. Now to add sightings lets take a closer look at the bottom half the new entry screen. To start select a bird checklist, if you’re birding in the UK the Birds of the United Kingdom contains all of the common bird species found in the UK. The list of checklists available is defined by the country selected for the entry and only relevant checklists are shown.
The next step is to add species using the species text box, this is no ordinary text box; it is a smart species search box that contains the full list of species for the selected checklist, all of the species are available at your finger tips. Lets start by typing ‘Swan’, as soon as you type you will notice that a list of items appear underneath the text box, the more you type the shorter the list becomes making it super easy to find that Mute Swan.
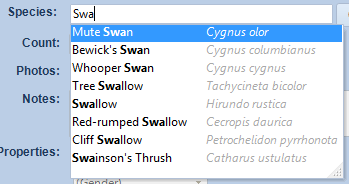
As you can see the smart search box searches for species names containing the letters you type, which means you are sure to find the species you’re looking for even if you only remember a small part of the species name.
Once you’ve found the species name press the enter key on your keyboard to select the species. If count is enabled the text box will now be in focus, you will know this because the cursor will be blinking in the count text box. By pressing the enter key again moves the cursor back to the species search box ready for you to enter another sighting. From here you can go ahead and add more sightings using the rapid speed of entry.
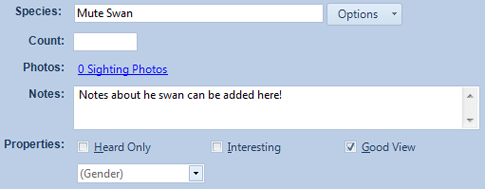
If you would like to add additional information about a sighting like photos, notes or properties you can do so using the fields underneath the species search box:
No two birders are the same and for that reason the properties are completely customisable, the following online tutorial shows how to customise your properties: customise sighting and entry properties
When you are happy with your entry click on the add entry button to add the entry to the database. You can now browse the entry in the entry screen:
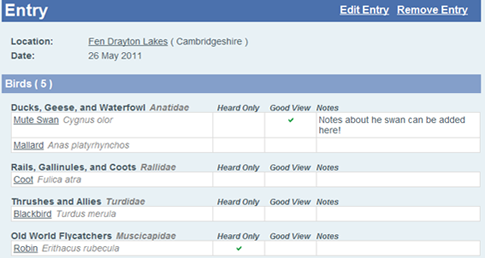
When browsing through your journal you are safe guarded from accidently editing/deleting your data, entries can only be modified by clicking on Edit Entry or Remove Entry found on the top right of every entry page.